Categories
- Baby (1)
- Breakfast (12)
- Entree (3)
- My year in review (1)
- Racing (4)
- Recent Musings (2)
- Recipes (27)
- Recovery (7)
- Salads (1)
- Snacks (7)
- Things that matter (2)
- Treats (16)
- Uncategorized (53)
3.14 Happy Pi Day!
I had to make a pie for Pi day. I’m just that cool.
I’ve made a few pies in the past, mostly on thanksgiving. I have a recipe I LOVE for pumpkin pie that uses spelt flour for the crust. I don’t actually love the flaky texture of traditional pie crusts, rather I prefer a more dense version. The spelt flout crust is just that- nutty, dense, and a little crunchy.
To make the crust for this pie, I decided to use the spelt recipe as a starting point and then add some flair. I had some leftover almond meal in the freezer and decided that would be fun to try. And intimidating….almond meal pie crust? Challenge accepted!
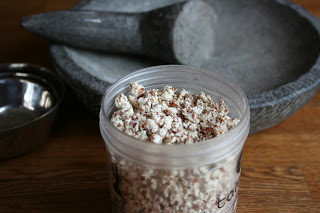
The problem was, the almond meal I had was pretty grainy. I was leftover from almond milk that I made awhile ago and was not not very fine.
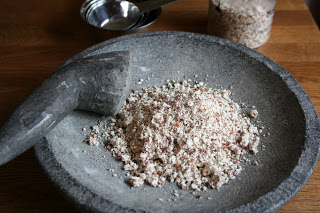
I’ve tried to make macaroons using the almond meal as is, and it didn’t work. Too chunky. Gross. But, I had a solution for that! Last year in Bali, Zach and I bought a stone mortar and pestle from the market in Ubud. I distinctly remember the day, it was hot as balls and we were both just getting over the dreaded Bali belly that everyone seems to get from the food (I swear, we were really careful!). Anyway, it was hot and our stomachs were still a little off and there were all sorts of smells….you can imagine. I wasn’t really into the whole bartering thing to get a good price on our mortar and pestle. I just wanted to get out of there. I digress.
We ended up coming home with the mortar and pestle, which is super duper heavy! Hindsight we should have bought it at the end of our trip, not in the beginning. Poor Zach had to carry it in his bag for 2 weeks. And coming through customs in the US…..haha. The journey it took to get this thing home. ANYWAY.
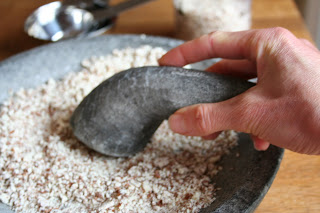
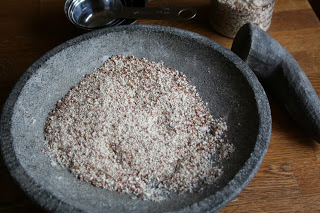
I love using the things we have, and this was a great excuse to use the mortar and pestle to make the almond meal fine.
So satisfying. I love using my kitchen gadgets!
Since almond meal alone is not a great base for dough, I combined it with the spelt flour. I started with 1/2 of each flour and it turned out pretty well! I was expecting a lot more trial and error in making the correct texture, but it turned out well the first time. I’ll take it!
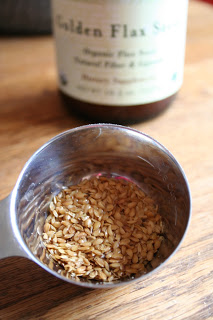
For additional nutty flavor, I also added flax seeds. My favorite to use are Flora’s Golden Flax Seeds. I like to grind them myself because they have way more nutritional value that way. These little guys are chock full of omega 3 fatty acids! And, pie crust always benefits from additional fat.
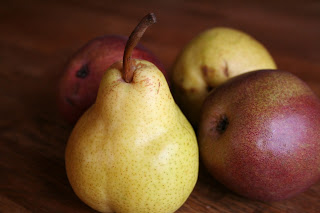
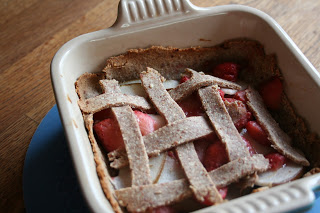
For the filling we didn’t have much around the house, so I just did a simple pear filling. Really any fruit would work in place of the pears. If I had my choice I think I would have done a strawberry rhubarb, although not really in season right now…. I’ll wait on that combo until summer.
To make crust, I mixed the flours, cinnamon, salt, and ground flax seeds together in a large bowl. I then melted the coconut oil over low heat and added it to the flours along with the maple syrup and milk.
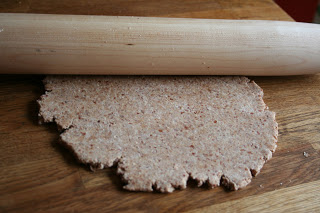
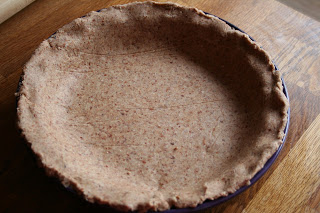
To make the crust, I started by rolling out on a floured surface, but found the crust was sticking. Learning from past mistakes (aka. totally mashing pie crust into the counter top), I immediately stopped and put parchment paper down. It worked like a charm and was so easy to transfer to the baking pan. I’d highly recommend that technique.
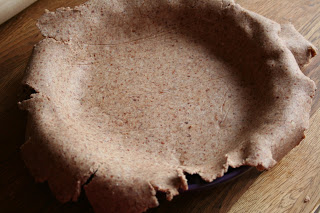
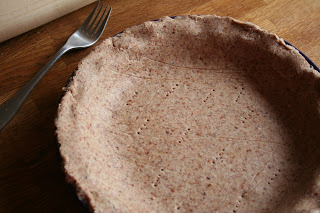
Trim the edges and use your fingers to pinch the top of the pie to create a thicker, neat looking crust. Or whatever, it doesn’t really matter what it looks like.
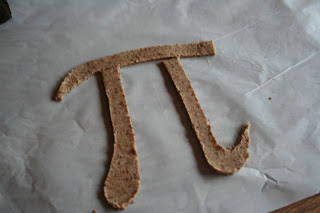
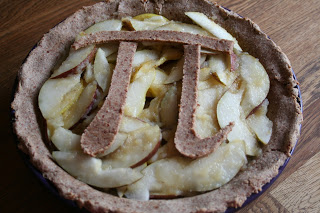
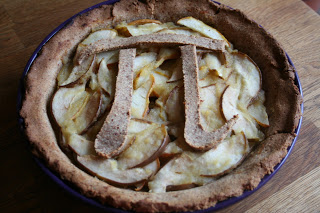
Now comes the fun. Take the leftover dough and roll it out. Create the shapes to put on top of the pie. This is my favorite part! I’m such a nerd.
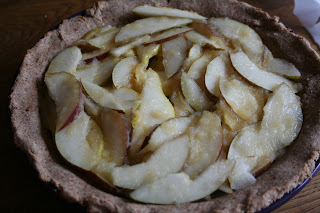
Once the crust is done, remove from the oven and allow to cool for a few minutes. During this time, cut up the fruit and arrange inside the crust. Top with applesauce and drizzle (generously) with maple syrup.
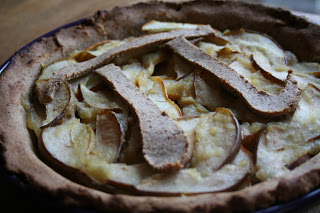
The pie came out looking wonderful and not overly sweet. I don’t like them too sweet, so this was perfect for me. But, if you are looking for a more sweetened version, I’d add some extra maple syrup to the filling and maybe a little butter or additional coconut oil on top before baking. That would make the filling turn out a little more traditional.
It is delicious though, as is! Especially paired with ice cream or whipped cream.
Happy Pi day!
Pear & Almond-Spelt Crust Pie
- 1 c almond meal
- 1 c spelt flour
- 1/2 c coconut oil, melted
- 1 tsp cinnamon
- 1/4 tsp salt
- 1/4 c maple syrup
- 2 T ground flax seeds
- 1/2 c milk of choice
- 3 pears
- 1/3 c applesauce
- 3-4 T maple syrup
- Preheat oven to 425F
- Mix crust ingredients together until well combined. The dough should be fairly dry, but not crumbly.
- Carefully roll out the dough on a floured surface (or parchment paper) until it’s 1/4” thick.
- Carefully transfer the pie crust to a pie dish, letting the edges fold over.
- Trim the excess crust and pinch the edges to make a neat looking crust.
- Poke the dough with a few fork pricks and bake for 6-7 minutes.
- While the crust is baking, cut up the fruit and set aside.
- Roll out the excess dough into desired shapes and set aside.
- Once the crust is done, remove from oven and let cool for couple minutes.
- To assemble, arrange the fruit inside the pie crust and top with applesauce. Use a spoon to spread it around.
- Drizzle the maple syrup on top of the fruit and arrange shapes on top.
- Reduce oven heat to 350 and bake for about 30-40 minutes.
- Cover the edges with foil and bake for another (10-15 min). *I forgot to do this and mine still turned out ok, the crust got a little brown, but still tastes fine.
- Serve with vanilla ice cream.


Leave a Reply