Categories
- Baby (1)
- Breakfast (12)
- Entree (3)
- My year in review (1)
- Racing (4)
- Recent Musings (2)
- Recipes (27)
- Recovery (7)
- Salads (1)
- Snacks (7)
- Things that matter (2)
- Treats (16)
- Uncategorized (53)
Rustic Blood Orange + Pear Galette
February 8, 2016
Jillian comes to visit!
I love my cousin to pieces. I so much look forward to spending time together and immersing Jillian in Bend life. She fits right in.
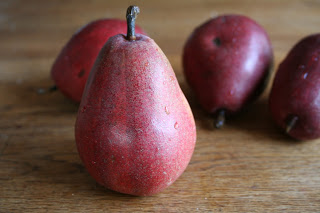
Jillian and I both love good food and are passionate about cooking. So, of course, we love to create recipes together! On this particular visit, we set out to make a fruit tart of sorts. I had a bowl full of pears to use up and was inspired by a rustic crust recipe I’d seen recently.
So pen and paper out, we started to sketch out our vision. Creating recipes can be difficult, because they have to be unique. There are probably a hundred recipes online for a pear tart. So how do we make this one different?
For starters, we decided on a ‘rustic’ crust. To us, that meant a more complex and flavorful texture, consisting of layers, rather than a simple flaky crust. We choose rye flour for it’s intense, nutty flavor and color. Is there anything more beautiful than a less than perfect dark crumbly rye crust? I think not.
To add to a more subtle flavor (and challenge) we also used coconut oil in the crust. This was after much debate. At first we were going to try an oil-based crust, but shied away from that these crusts tend to be dense, and for lack of better word, dull. Using butter would have been delicious, but too easy. Coconut oil seemed like a happy medium: a challenge but more forgiving due to it’s high saturated fat content (similar to butter).
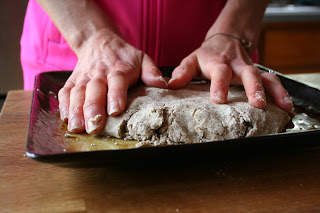
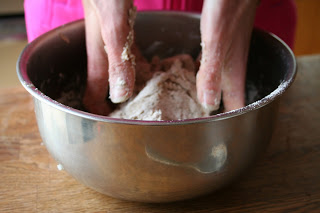
To prepare the crust, we kept true to classic method: flour + coconut oil + ice water. We cut the flour, sugar, spices and coconut oil together and then added the ice water. We tried chilling the dough after it was formed (as you would a traditional pie crust), but found the coconut oil solidified and made for a crumbly crust. Room temperature dough was easier to work with, which we noted in the instructions.
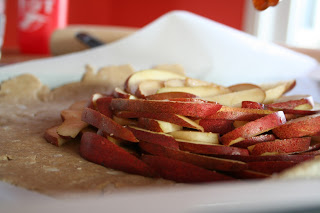
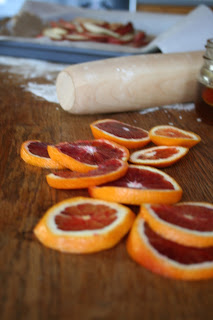
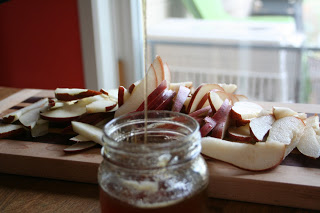
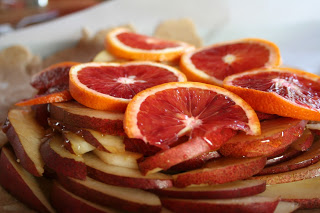
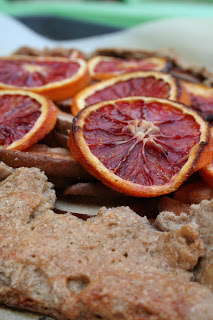
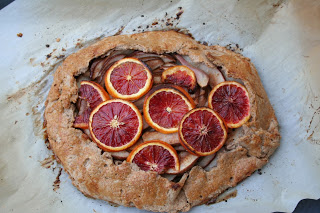
We kept the filling really simple. We wanted the fruit to be the focus and not detract from it’s beautiful flavor. We were planning to use pears, but I wanted to add something else. I had blueberries, grapefruit, and blood oranges also in my fruit bowl. In the past I’ve done a lot with blueberries, but was really interested in using citrus to enhance the pear flavor. Plus, thinly sliced citrus can be visually stunning on top of baked goods. We settled on blood orange for the flavor and color. To create a caramelized top and bring out the sweetness of the fruit, we drizzled honey on top of the fruit before baking.
 |
 |
The last touch was brushing the galette with an egg wash to create that beautiful and delicious gold crust. We sprinkled with vanilla sugar just before baking as well.
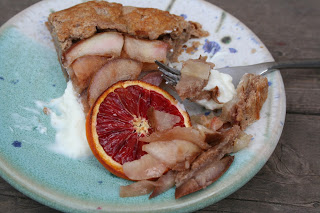
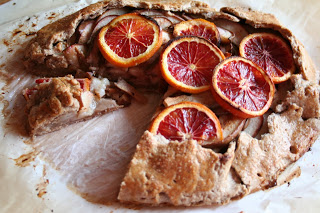
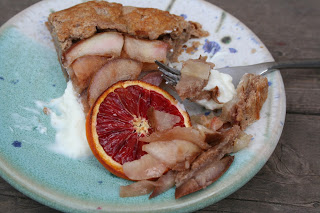
The final product? Perfect. Beautiful. Delicious. Very much a rustic tart with the sweetness of fresh fruit. Not too sweet, but begging to be paired with some cream. So we did. Homemade whipped cream.
Stephanie + Jillian for the win!
Rustic Blood Orange + Pear Galette
For the Crust:
1 c. flour
1 c. rye flour
2/3 c. coconut oil
1/2 c. ice water
1/2 t cinnamon
1 t salt
2 T brown sugar* (optional, but recommended)
For the Filling:
1 blood orange
honey
egg wash (optional)
vanilla sugar
Pre-heat oven to 375.
To prepare the crust:
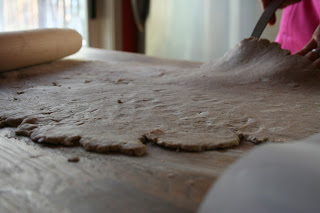
Mix flours, cinnamon, sugar, and salt. Cut in coconut oil and pulse or mix until roughly combined. Add water and incorporate together. Shape into a flat disc and roll out on a well floured surface. Roll until the dough is thin, about 1/4 of an inch thick. Place on a parchment lined baking sheet and set aside.
To prepare the filling:
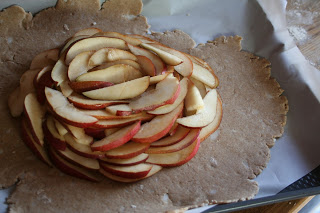
Slice pears very thinly and arrange on the crust, leaving a 1-2” border of crust to fold over. Slice a whole blood orange (with peel intact) and arrange over the pears. Drizzle generously with honey. Gently fold the crust up over the sides to cover part of the fruit. Brush with egg wash and sprinkle with vanilla sugar.
Bake for 30 min or until crust is slightly brown. Serve with cream if desired. This keeps well and is even better (if possible) the next day.
*Another sweetener may work here. Maple syrup or honey comes to mind.
Leave a Reply